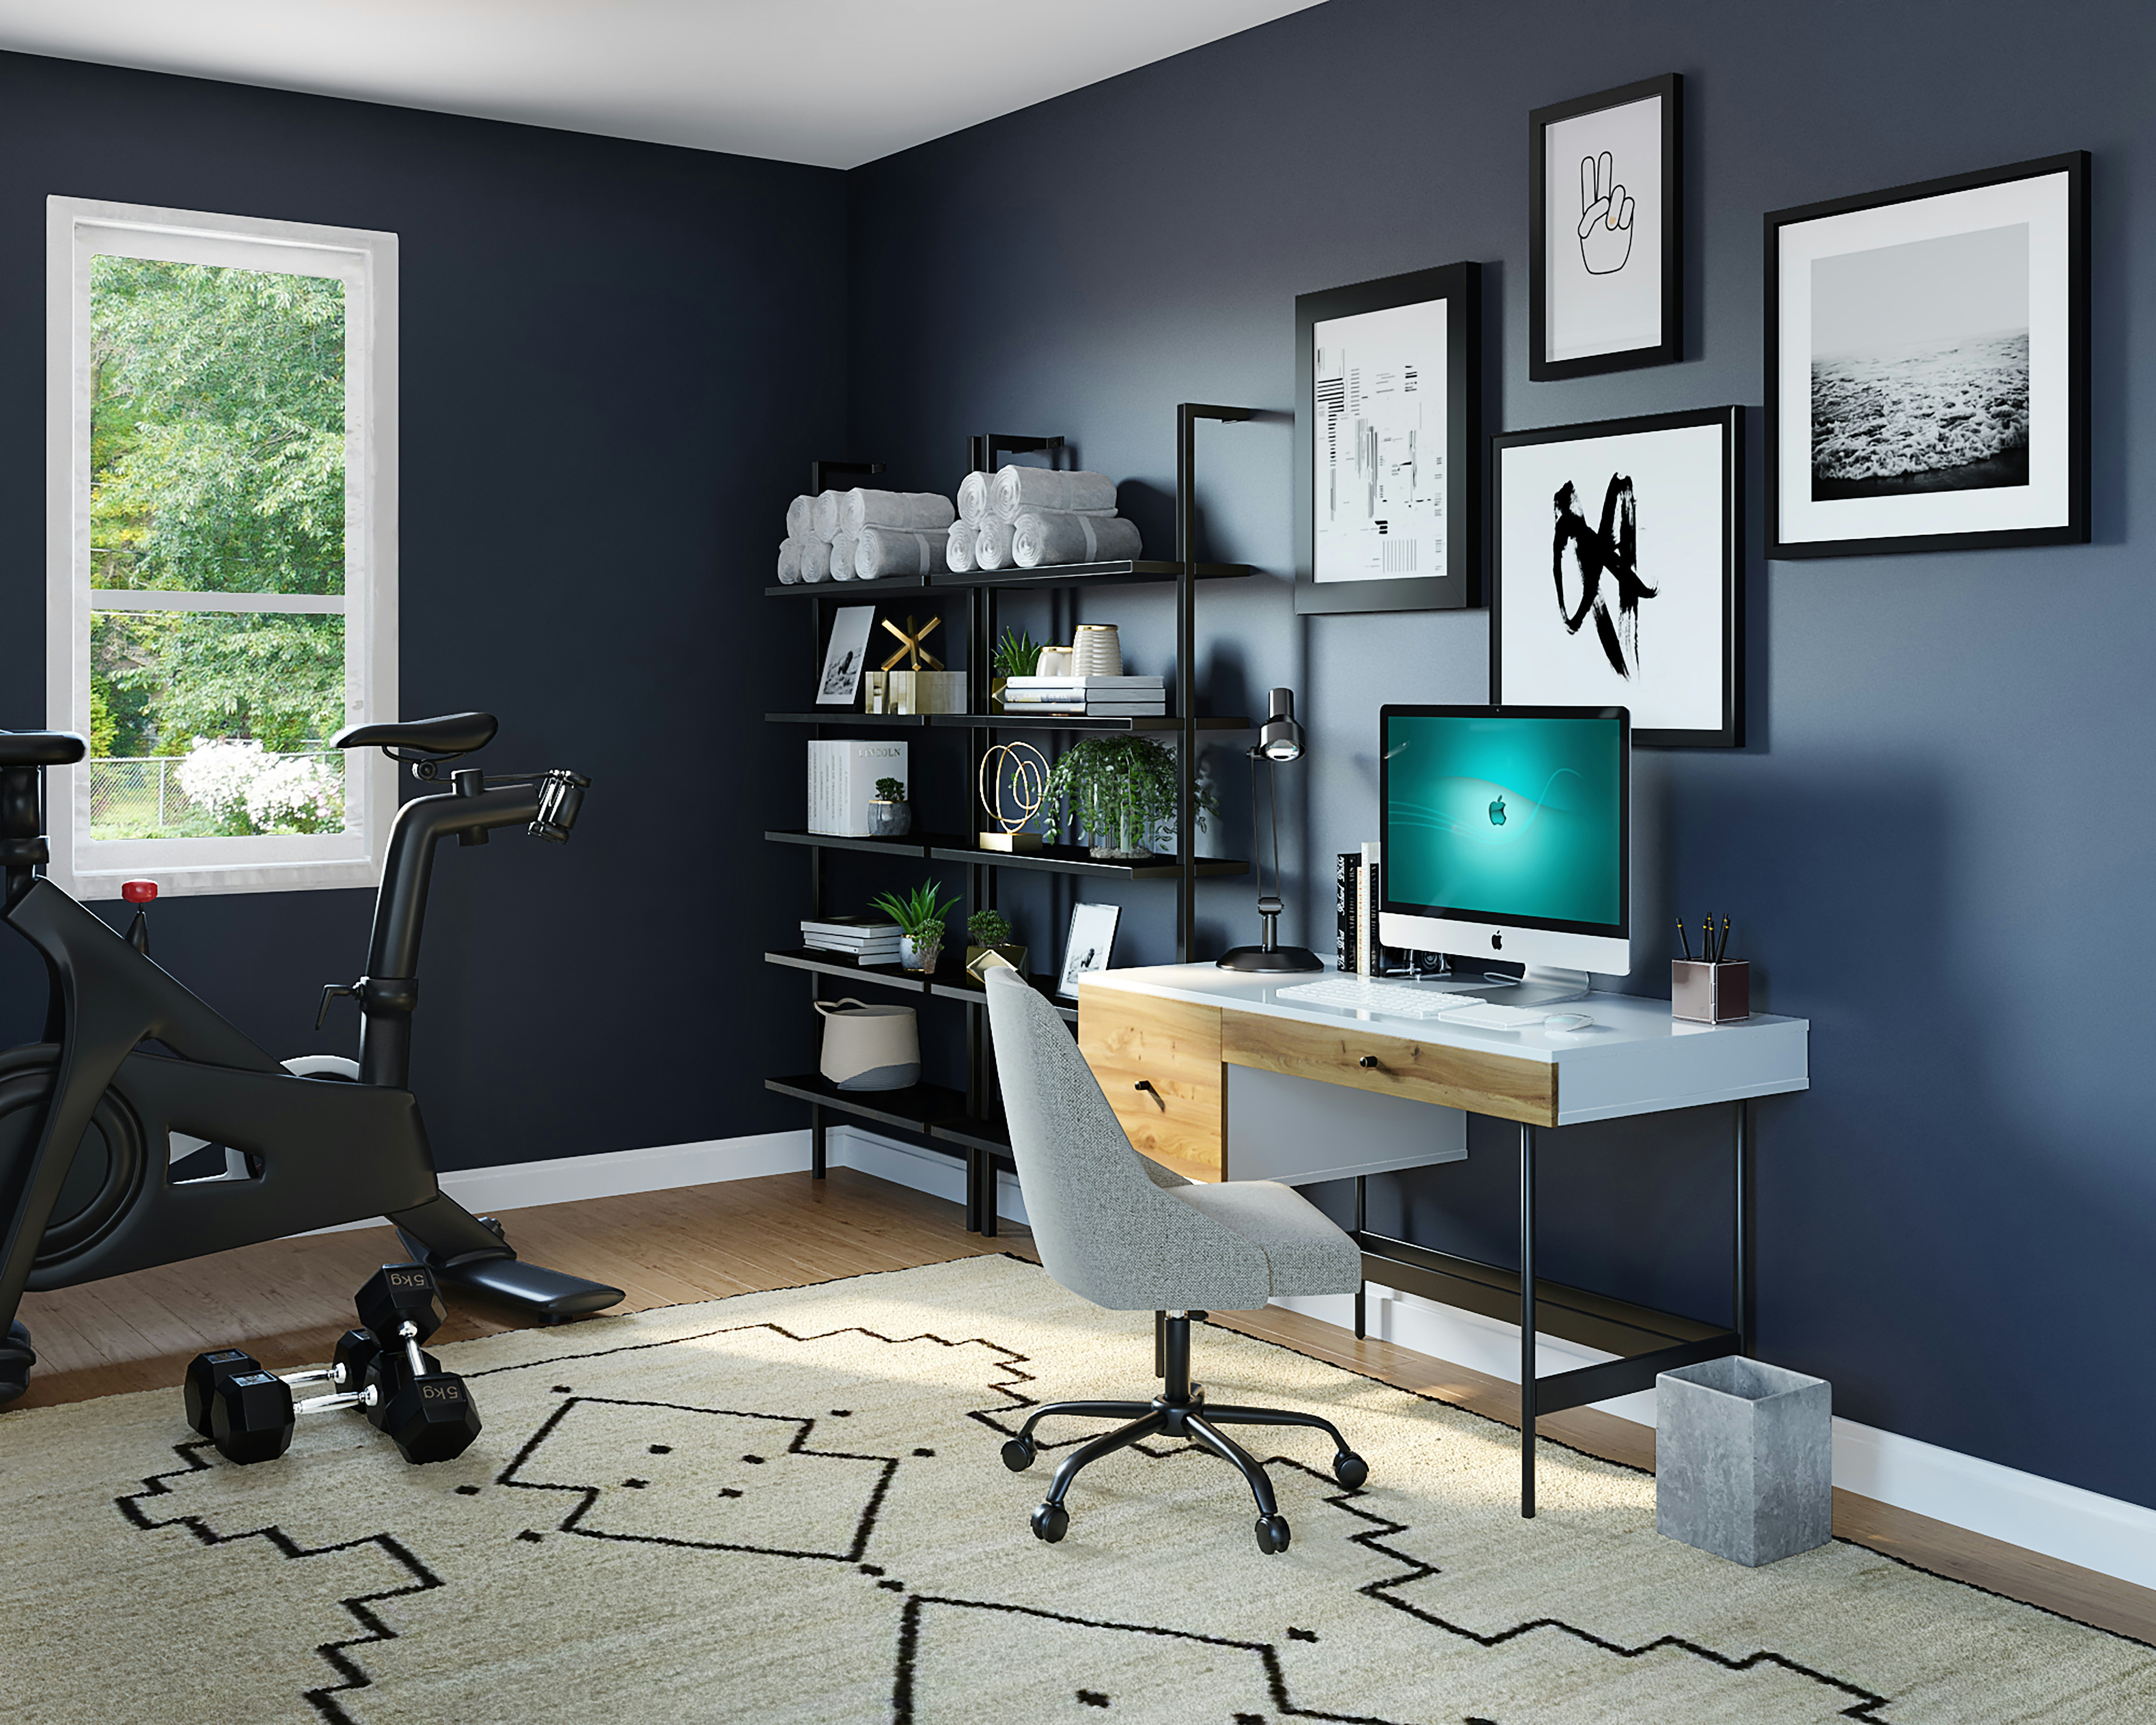
6 Creative Ways to Personalize Your Home Office on a Budget
Jan 12, 2026


Simple updates can bring new life to your home, blending comfort and style with lasting benefits. Anyone can tackle these changes without special training or expert skills. With everyday tools and a bit of creativity, these seven projects help transform ordinary rooms into spaces that feel both inviting and personal. Each project offers a chance to add your own touch and increase your home’s appeal. As you complete each one, you’ll enjoy the satisfaction of seeing your efforts pay off in rooms that look and feel better than ever, making your home a place you’re even happier to spend time in.
Floating shelves offer a clean look and free up floor space, instantly enhancing small rooms. You will notice how a simple wood finish changes a blank wall into a display area that feels warm and organized.
This project encourages precision and gives you the satisfaction of creating custom storage. Once you set up one shelf, you will see other empty walls waiting for the same stylish upgrade.
Reusing pallets provides a budget-friendly way to craft a unique centerpiece in your living room. When you choose contrasting caster colors or tie in rope handles on the sides, you craft a custom look that guests will notice.
With minimal investment, this piece creates a rustic-meets-modern vibe. It’s a smart way to use reclaimed materials while adding an eye-catching element to your seating area.
Peel-and-stick tiles eliminate the mess of grout and heavy adhesive. Pick geometric patterns or rustic pressed-metal designs that match your kitchen’s personality. Before starting, clean the surface thoroughly and let it dry several hours.
Work from the center of your installation area, pressing each tile firmly and wiping away air bubbles. If you need to trim a tile to fit edges or outlets, use a sharp utility knife. In just an afternoon, you will enjoy a striking focal point above your countertop that resists stains and wipes down easily.
Old dressers often hide under layers of paint or varnish. Strip them down to raw wood, then seal with moisture-resistant primer and a fresh coat of semi-gloss paint. Next, cut openings at the back for plumbing and install a vessel sink on top for a spa-like effect.
Drawer space remains handy for towels and toiletries, while the dresser’s original hardware adds vintage charm. When you pair this vanity with a wall-mounted mirror and under-cabinet lighting, you will feel like you’re stepping into a boutique bathroom every day.
Install a magnetic strip under a cabinet or on the wall next to your stove. Buy small, clear jars with metal lids or use recycled tin containers. Label each jar clearly so you grab the right spice in a flash.
Magnets keep these jars within reach, freeing up counter and cabinet space. As you cook, you will find the convenience vital, cutting down on prep time and keeping flavors fresh right where you need them.
Select two or three complementary paint colors—think deep teal, soft gray, and crisp white. Use painter’s tape to mark triangles, stripes, or even hexagons on your chosen wall. Paint each shape carefully, allowing drying time between coats for clean edges.
This technique creates a bold statement without overwhelming the room. When you change an accent wall’s hue with the seasons, you will refresh the mood regularly and avoid full-room repainting costs.
Replacing a basic switch with a dimmer takes only a few minutes and a Phillips-head screwdriver. Turn off the breaker, swap the switch plate, connect wires to the dimmer terminals, and restore power to test it.
With dimmer control, you will set different moods for movie nights or brighten the room for cleaning. This small change can turn living areas into flexible spaces that adapt to work, play, or relaxation.
When you outline each step and order supplies online, you lock in prices and spot sales. Building a basic collection of screwdrivers, clamps, and a multi-bit drill will serve you across projects and save rental fees over time.
These projects offer practical, cost-effective improvements you can start this weekend. Completing each task will enhance your environment and boost your confidence in DIY skills.

Expanding outside your current headquarters allows you to explore properties that support your company’s ambitions. You might want additional warehouse space to boost...
Dec 22, 2025

Local public library programs that focus on preserving community history invite you to discover the stories, people, and events that shaped your area. Through guided...
Jan 05, 2026

Pets thrive when you add a little extra care to their daily lives, and you can easily do this right at home. Weekly brushing keeps coats healthy and gives you a chance...
Feb 21, 2026

Building a community music and theater group brings together people who share a passion for the performing arts, creating a lively space for creativity and teamwork....
Feb 06, 2026

Neighbors gather and share stories that build trust and understanding, creating the foundation for meaningful support networks. Laughter and honest conversations fill...
Feb 10, 2026

Neighbors find new ways to connect when they share their homes, whether by offering a spare room, joining a co-op, or living communally. These living arrangements often...
Mar 07, 2026

Successful consulting contracts depend on careful preparation and steady communication from start to finish. You start by understanding what the client hopes to achieve,...
Jan 30, 2026

Turning a creative idea into a successful project often depends on finding the right financial support. Many innovators miss out on valuable grant opportunities simply...
Mar 04, 2026

Music, vibrant colors, and timeless stories fill the air at festivals, creating an atmosphere where people come together and celebrate their roots. Local heritage...
Mar 13, 2026

Collaboration across different time zones brings unique rewards and challenges, much like assembling a worldwide network of talented individuals. Reliable routines,...
Feb 28, 2026

Neighbors sometimes face conflicts that can strain relationships and create tension in the community. Through community mediation, people come together to address their...
Mar 11, 2026

Quality sleep involves more than simply spending enough time in bed. The way you wind down, the comfort of your environment, and your nightly habits all play important...
Jan 15, 2026
Building a neighborhood business association offers a way to connect shop owners, residents, and local organizations through a common purpose. When you bring together...
Dec 27, 2025

Unlocking the full potential of analytics means turning raw data into practical insights that guide better decisions. By analyzing numbers with purpose, you can reveal...
Jan 26, 2026