6 Unique Ways Adult Education Classes Boost Local Engagement
Apr 07, 2026


Neighbors who exchange skills create a vibrant community built on shared knowledge and mutual support. Start by reaching out to residents to discover what abilities they are interested in offering or gaining. Gather their input through conversations at community centers, visits to local libraries, or straightforward online surveys. When people have a chance to share their interests and aspirations, excitement for the project naturally grows. This approach helps ensure the network truly meets the needs of those involved and encourages lasting relationships based on cooperation and trust.
A clear vision prevents confusion as you move forward. Define what success looks like: should the network run monthly workshops, one-on-one mentoring sessions, or a hybrid of both? Set measurable targets, like hosting four events in the first quarter or recruiting 30 active members. With a concrete roadmap, you guide volunteers and participants toward common goals.
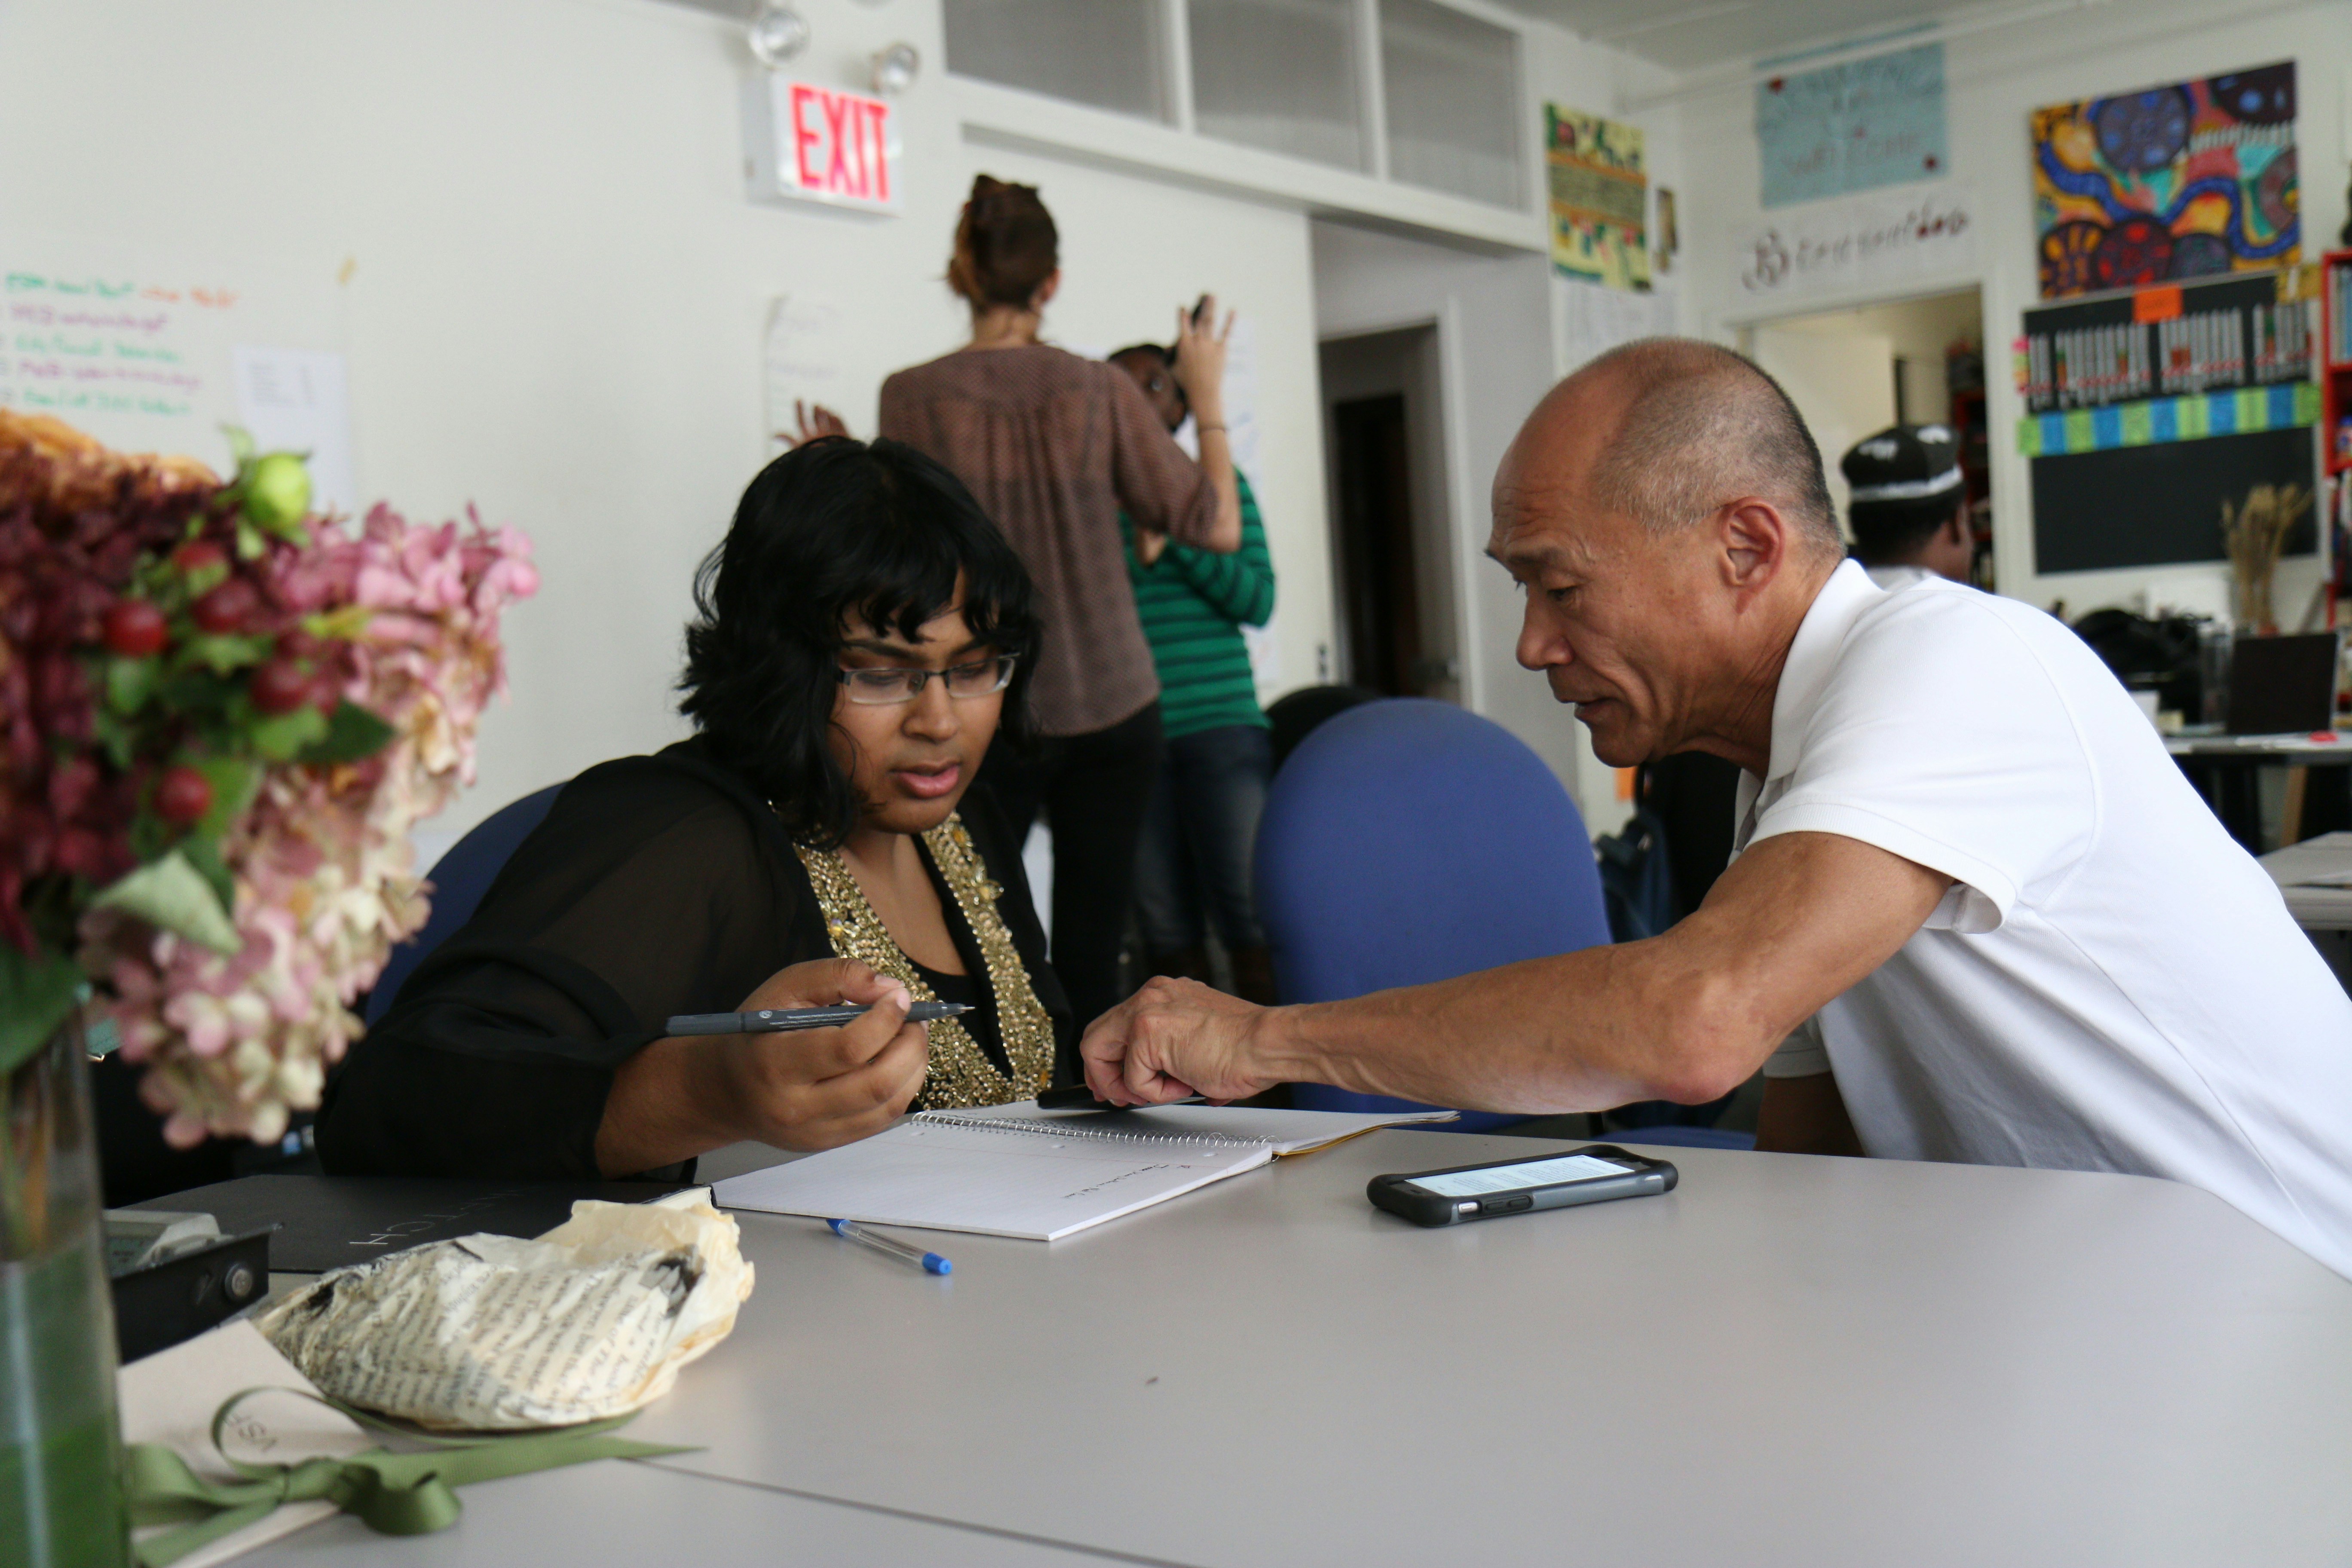
Organizing a skill exchange starts with mapping resident strengths and gaps. Host open forums or drop-in hours at local venues. Offer small incentives—like refreshments or raffle tickets—to encourage participation. Gathering this data lets you match teaching capacities with learning desires.
After collecting input, analyze recurring themes. If multiple people express an interest in basic computer repair, that becomes a priority. Compare each suggestion against available volunteer expertise. Prioritize the top three areas where demand meets supply, and form pilot sessions around them.
Identify volunteers who bring diverse talents: event planning, marketing, and logistical coordination. Aim for five to seven committed individuals. Assign each person a clear role, from communications lead to budgeting coordinator. Writing role descriptions ensures accountability and prevents overlap.
Hold an initial team meeting to clarify tasks and set milestones. Use friendly icebreakers to build rapport. Agree on meeting cadence—weekly for the first two months, then biweekly. Establish a central workspace, such as a shared folder in *Google Drive* or a project channel in *Slack*, to keep everyone on the same page.
Crafting a structured, repeatable process helps participants know what to expect. Key components include:
Define clear guidelines for both teachers and learners. Outline time limits for each segment, instruction formats, and code of conduct. This blueprint helps new organizers replicate success and maintain quality across sessions.
Attracting both instructors and learners ensures dynamic exchanges. Follow these steps:
Throughout recruitment, emphasize personal stories. Share testimonials from pilot participants on social media. Seeing peers succeed boosts interest and lowers apprehension about teaching or learning in a group setting.
Training doesn’t need to feel formal. Provide concise guides on public speaking, basic facilitation, and even simple room setup tips. These practical checklists equip participants to contribute effectively and feel ready from day one.
Set up the venue at least 30 minutes before the start time. Arrange seats in a circle or U-shape to foster open dialogue. Place name tags or table tents so participants can connect quickly. Offer water, tea, or light snacks to create a welcoming atmosphere.
Start with a brief welcome: introduce the organizing team, explain the agenda, and remind everyone of ground rules. Encourage instructors to start with a short icebreaker tied to the skill—for example, asking attendees to share one related experience. This builds comfort and energy in the room.
After each session, review feedback promptly. Identify what worked—like a lively Q&A—and what needs tweaking—such as lengthening hands-on practice. Share lessons learned with the organizing team at the next planning meeting.
Maintain a lively network with ongoing outreach. Create a monthly e-newsletter highlighting upcoming topics and featuring participant spotlights. Partner with local businesses for sponsorships or space donations in exchange for recognition. These collaborations broaden your reach and resource base.
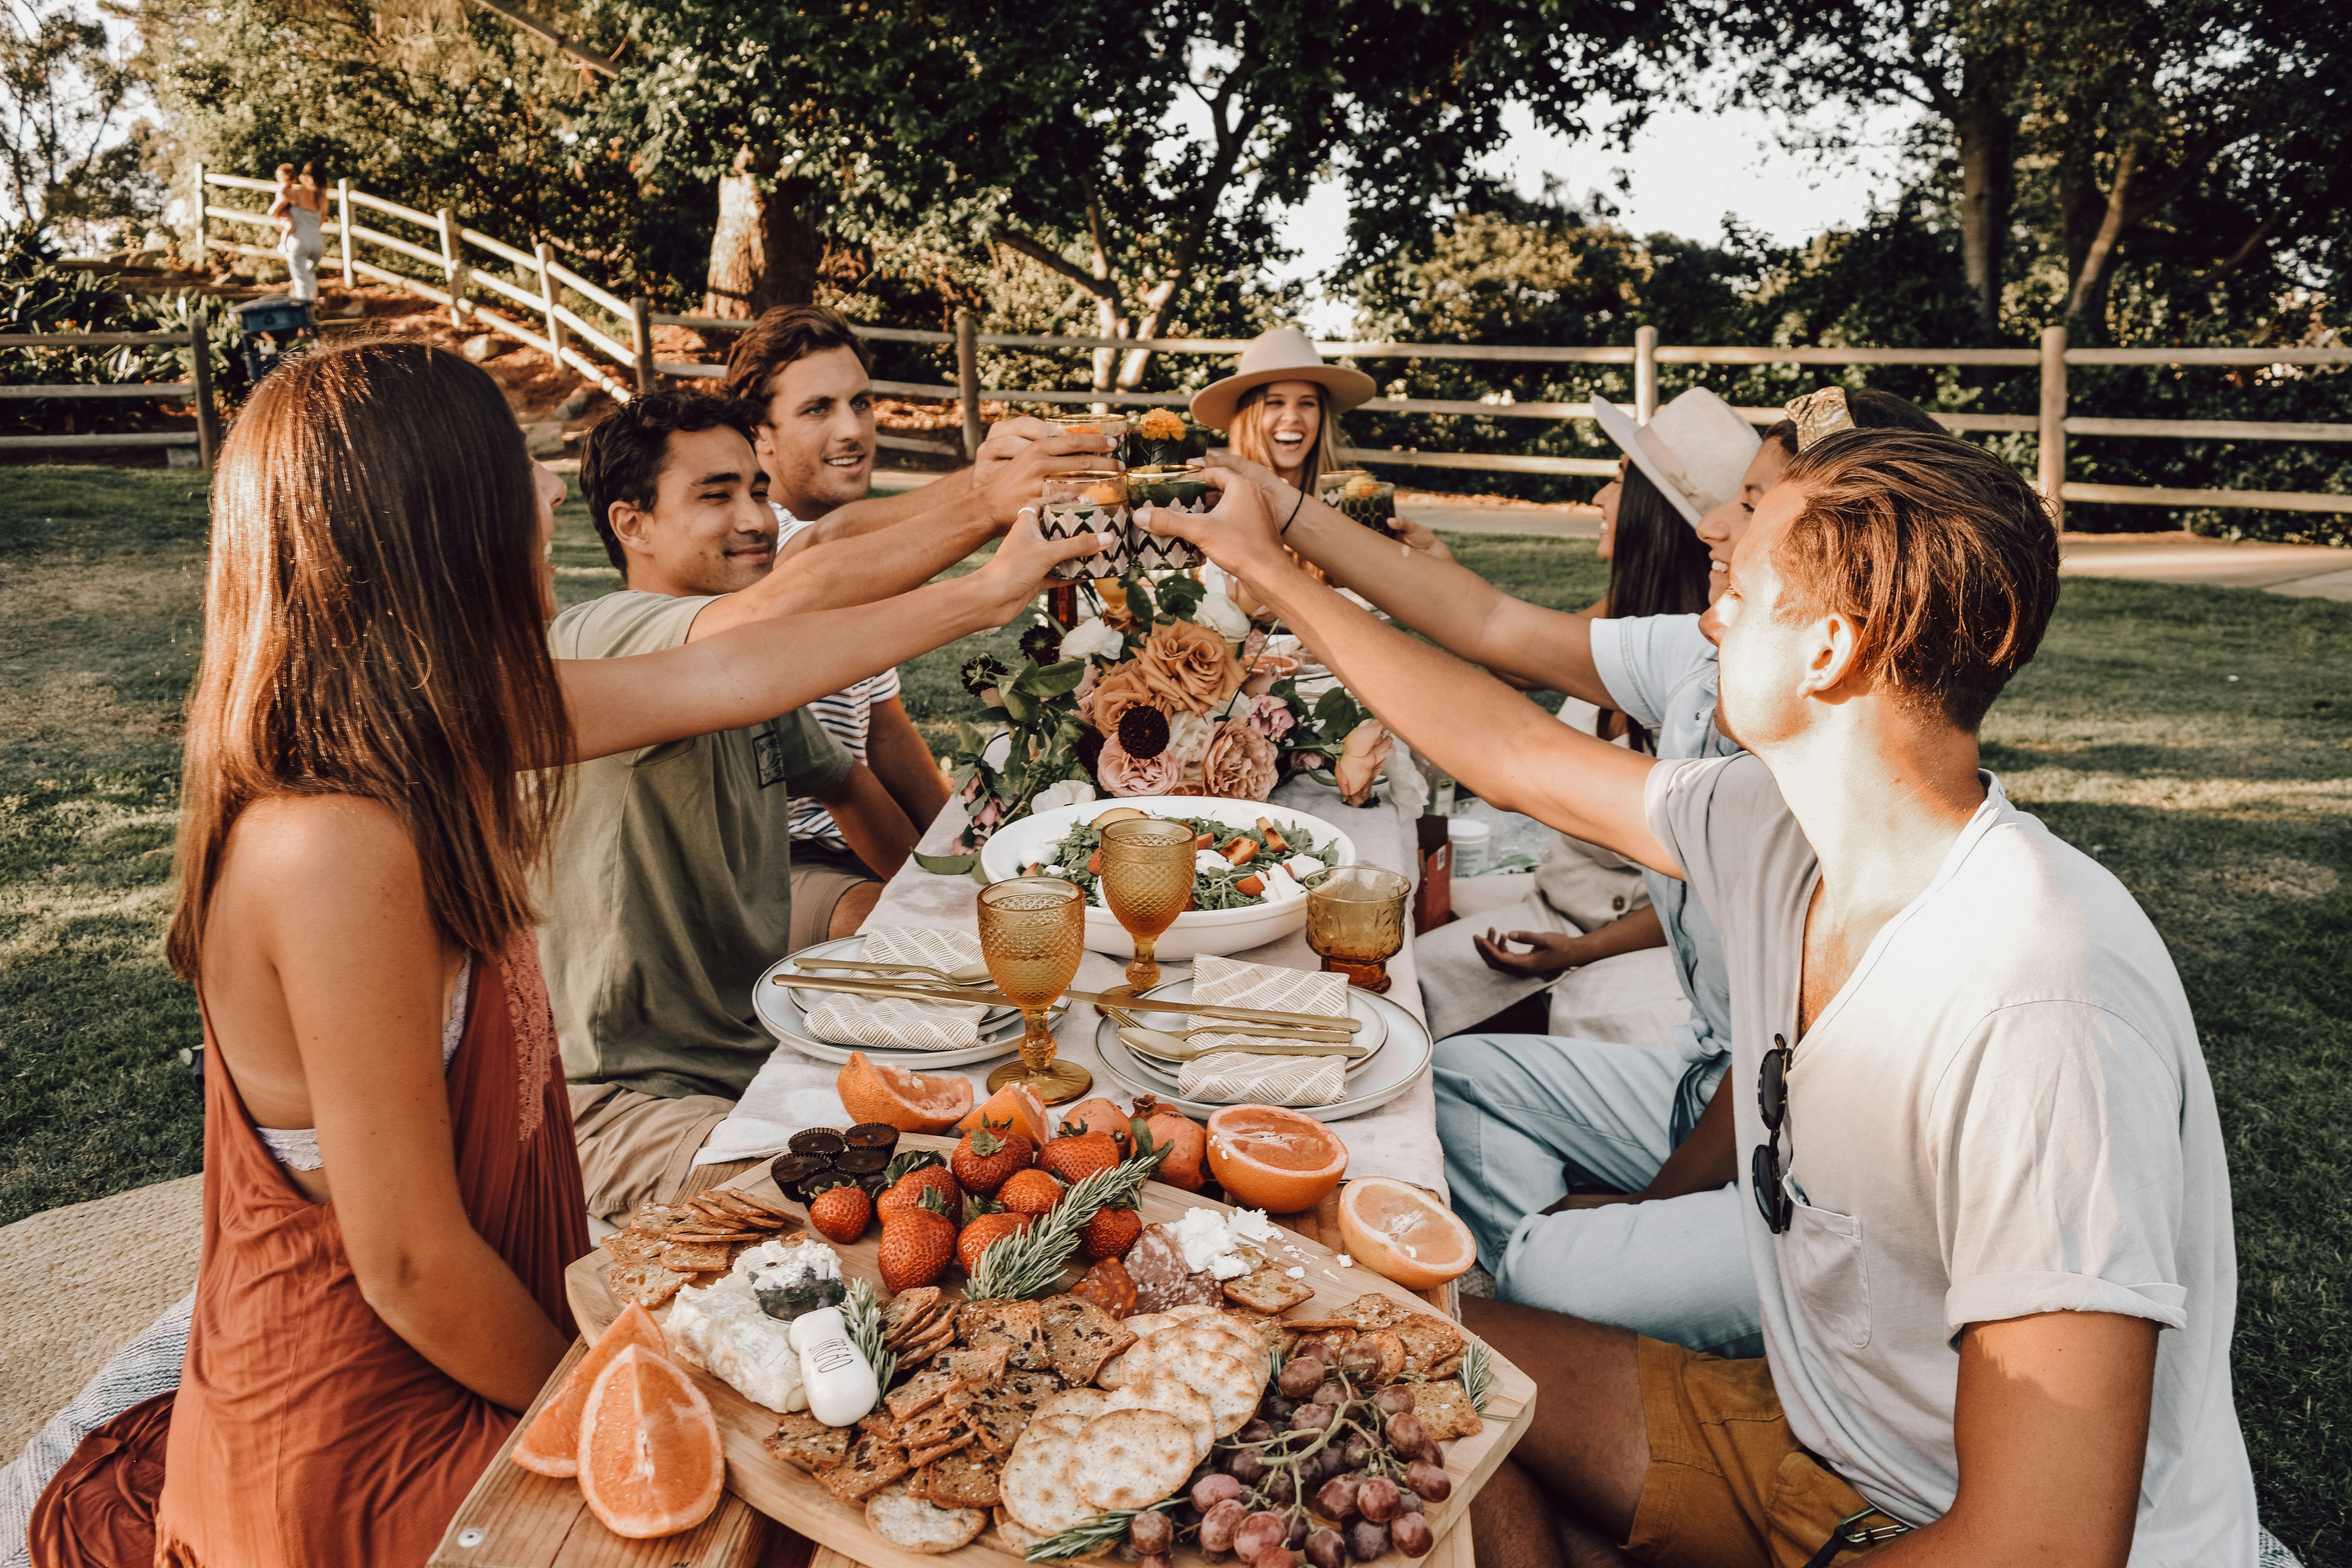
Celebrating small wins keeps everyone motivated: post photos from events on community boards, award “Top Teacher” badges each quarter, or hold an annual potluck to thank volunteers. These gestures build a sense of shared ownership and pride that fuels long-term growth.
Starting a skill-sharing network requires clear goals, active organizers, and effective outreach. These steps build a sustainable exchange that connects people and enriches your community.
Families gather in driveways that have become lively spots for conversation, with voices and laughter mingling as the day turns to evening. Children play nearby while...
Feb 03, 2026
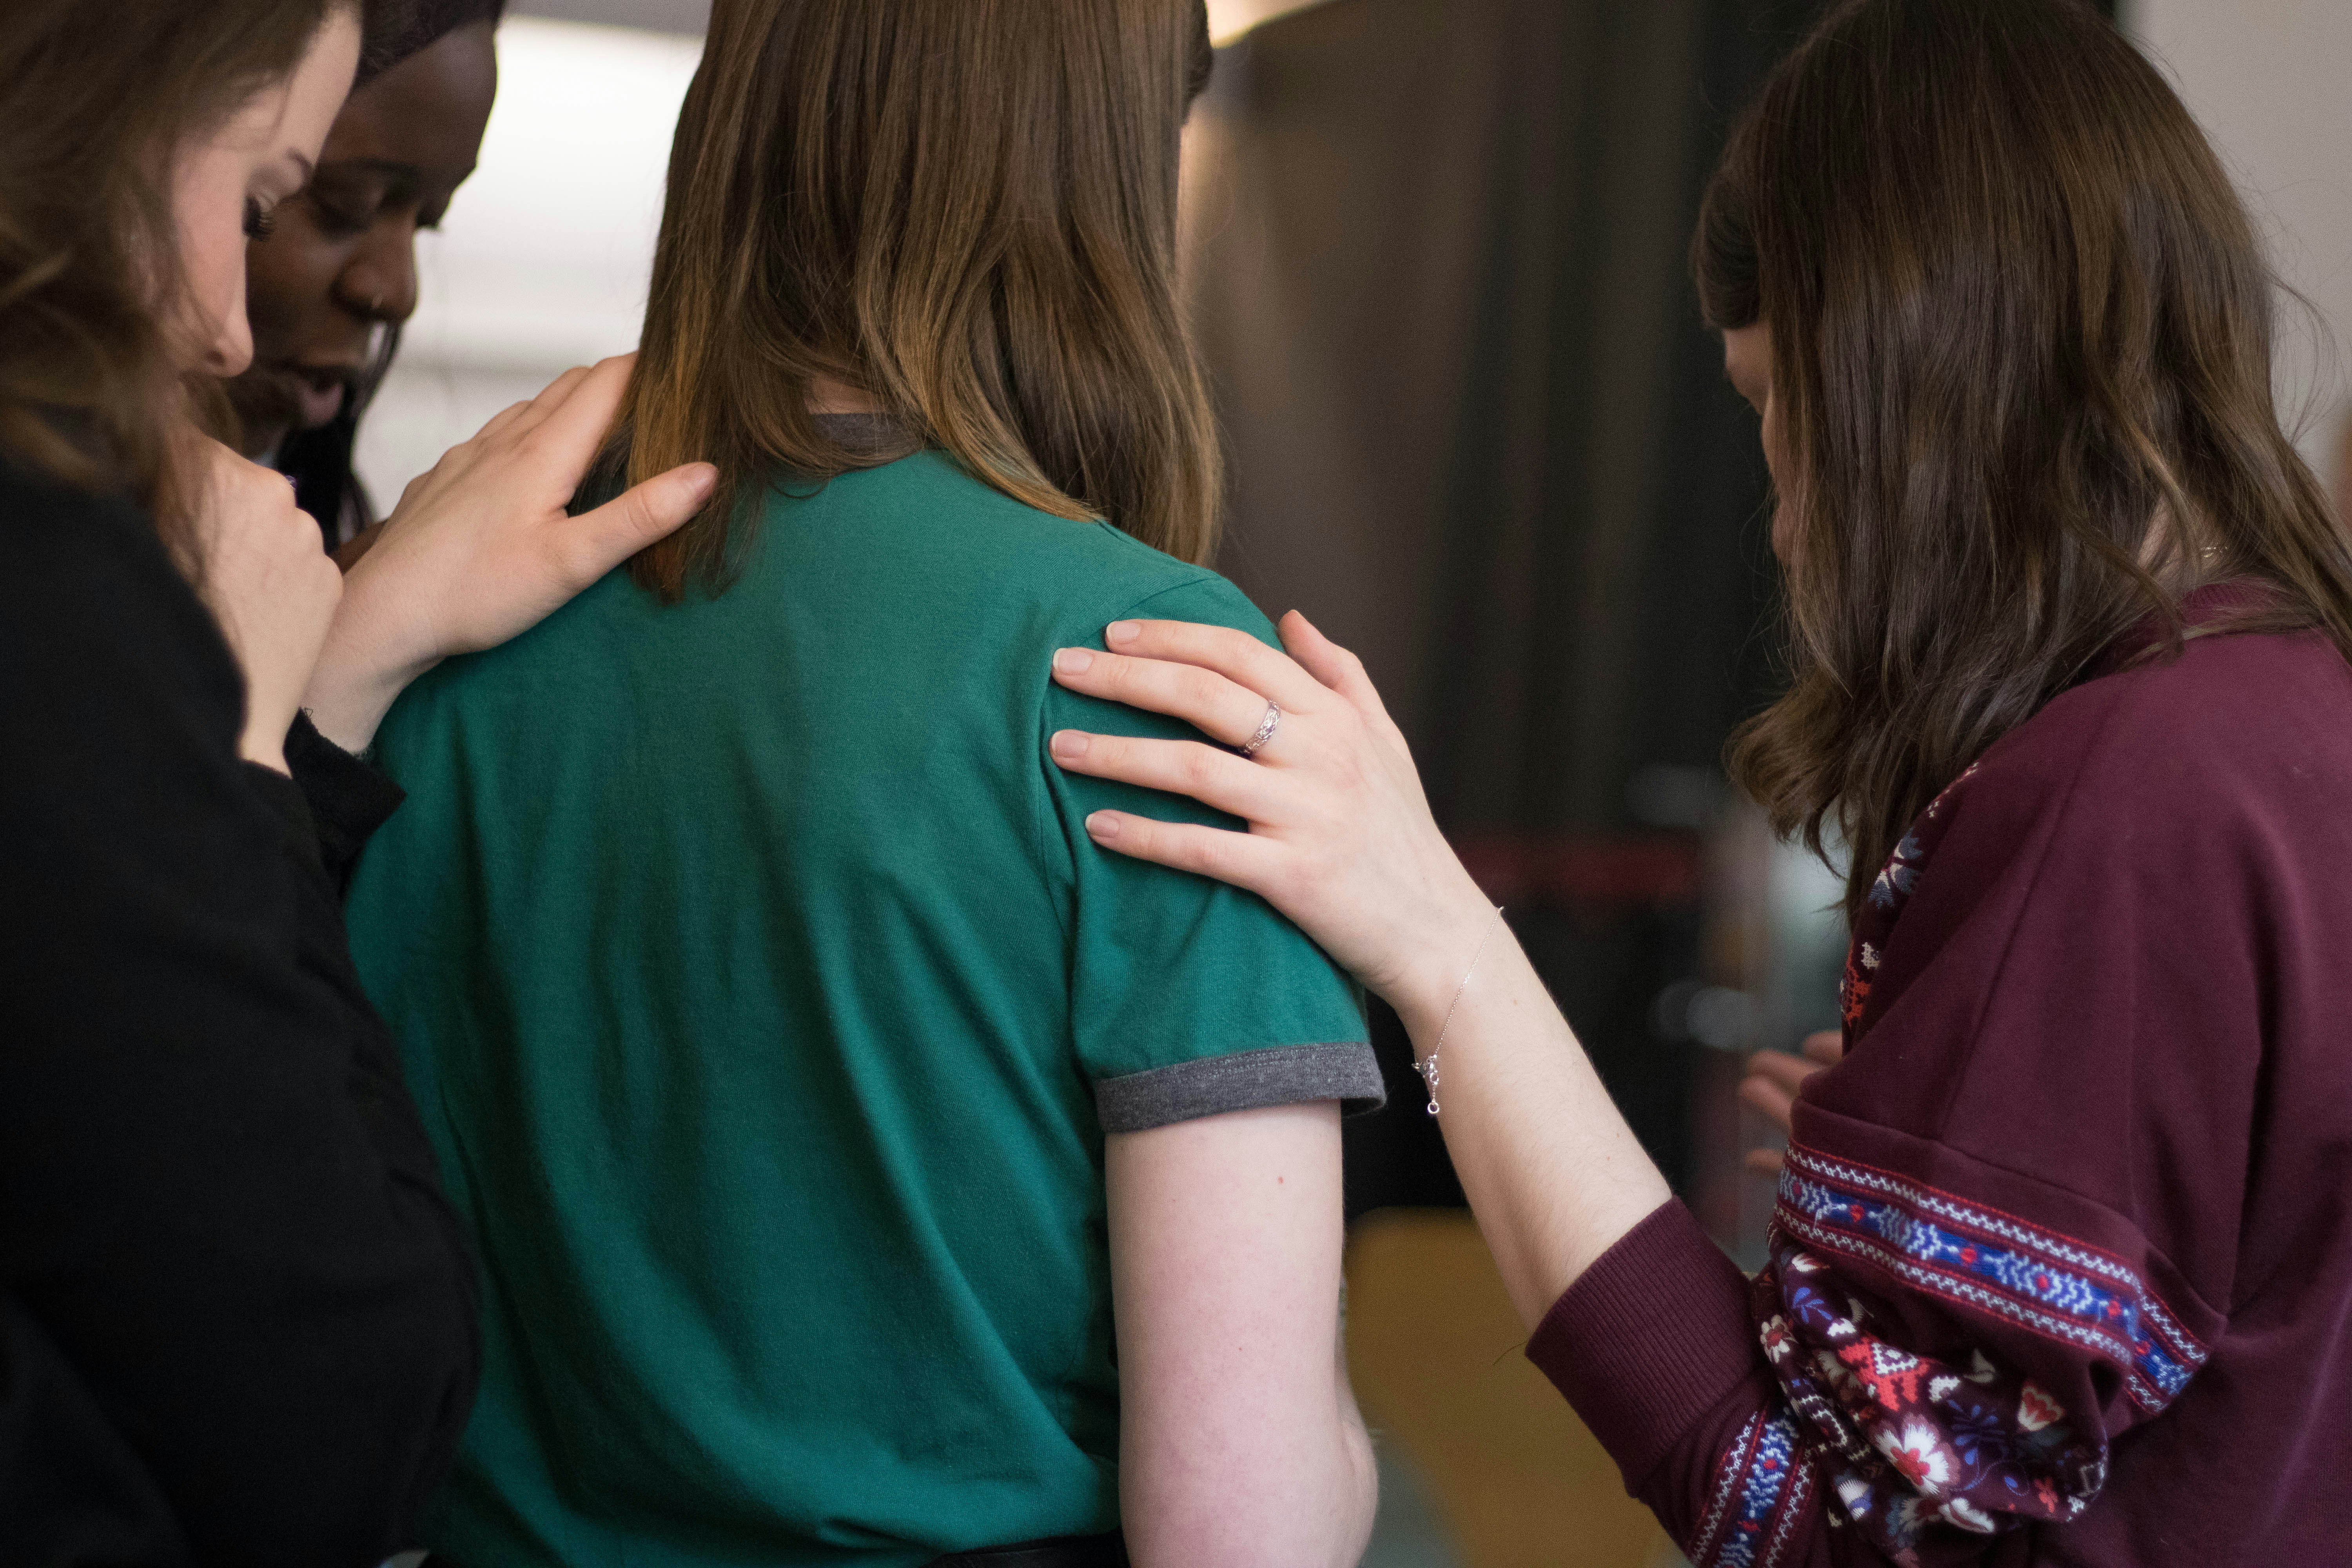
Neighbors gather and share stories that build trust and understanding, creating the foundation for meaningful support networks. Laughter and honest conversations fill...
Feb 10, 2026

Neighbors find new ways to connect when they share their homes, whether by offering a spare room, joining a co-op, or living communally. These living arrangements often...
Mar 07, 2026
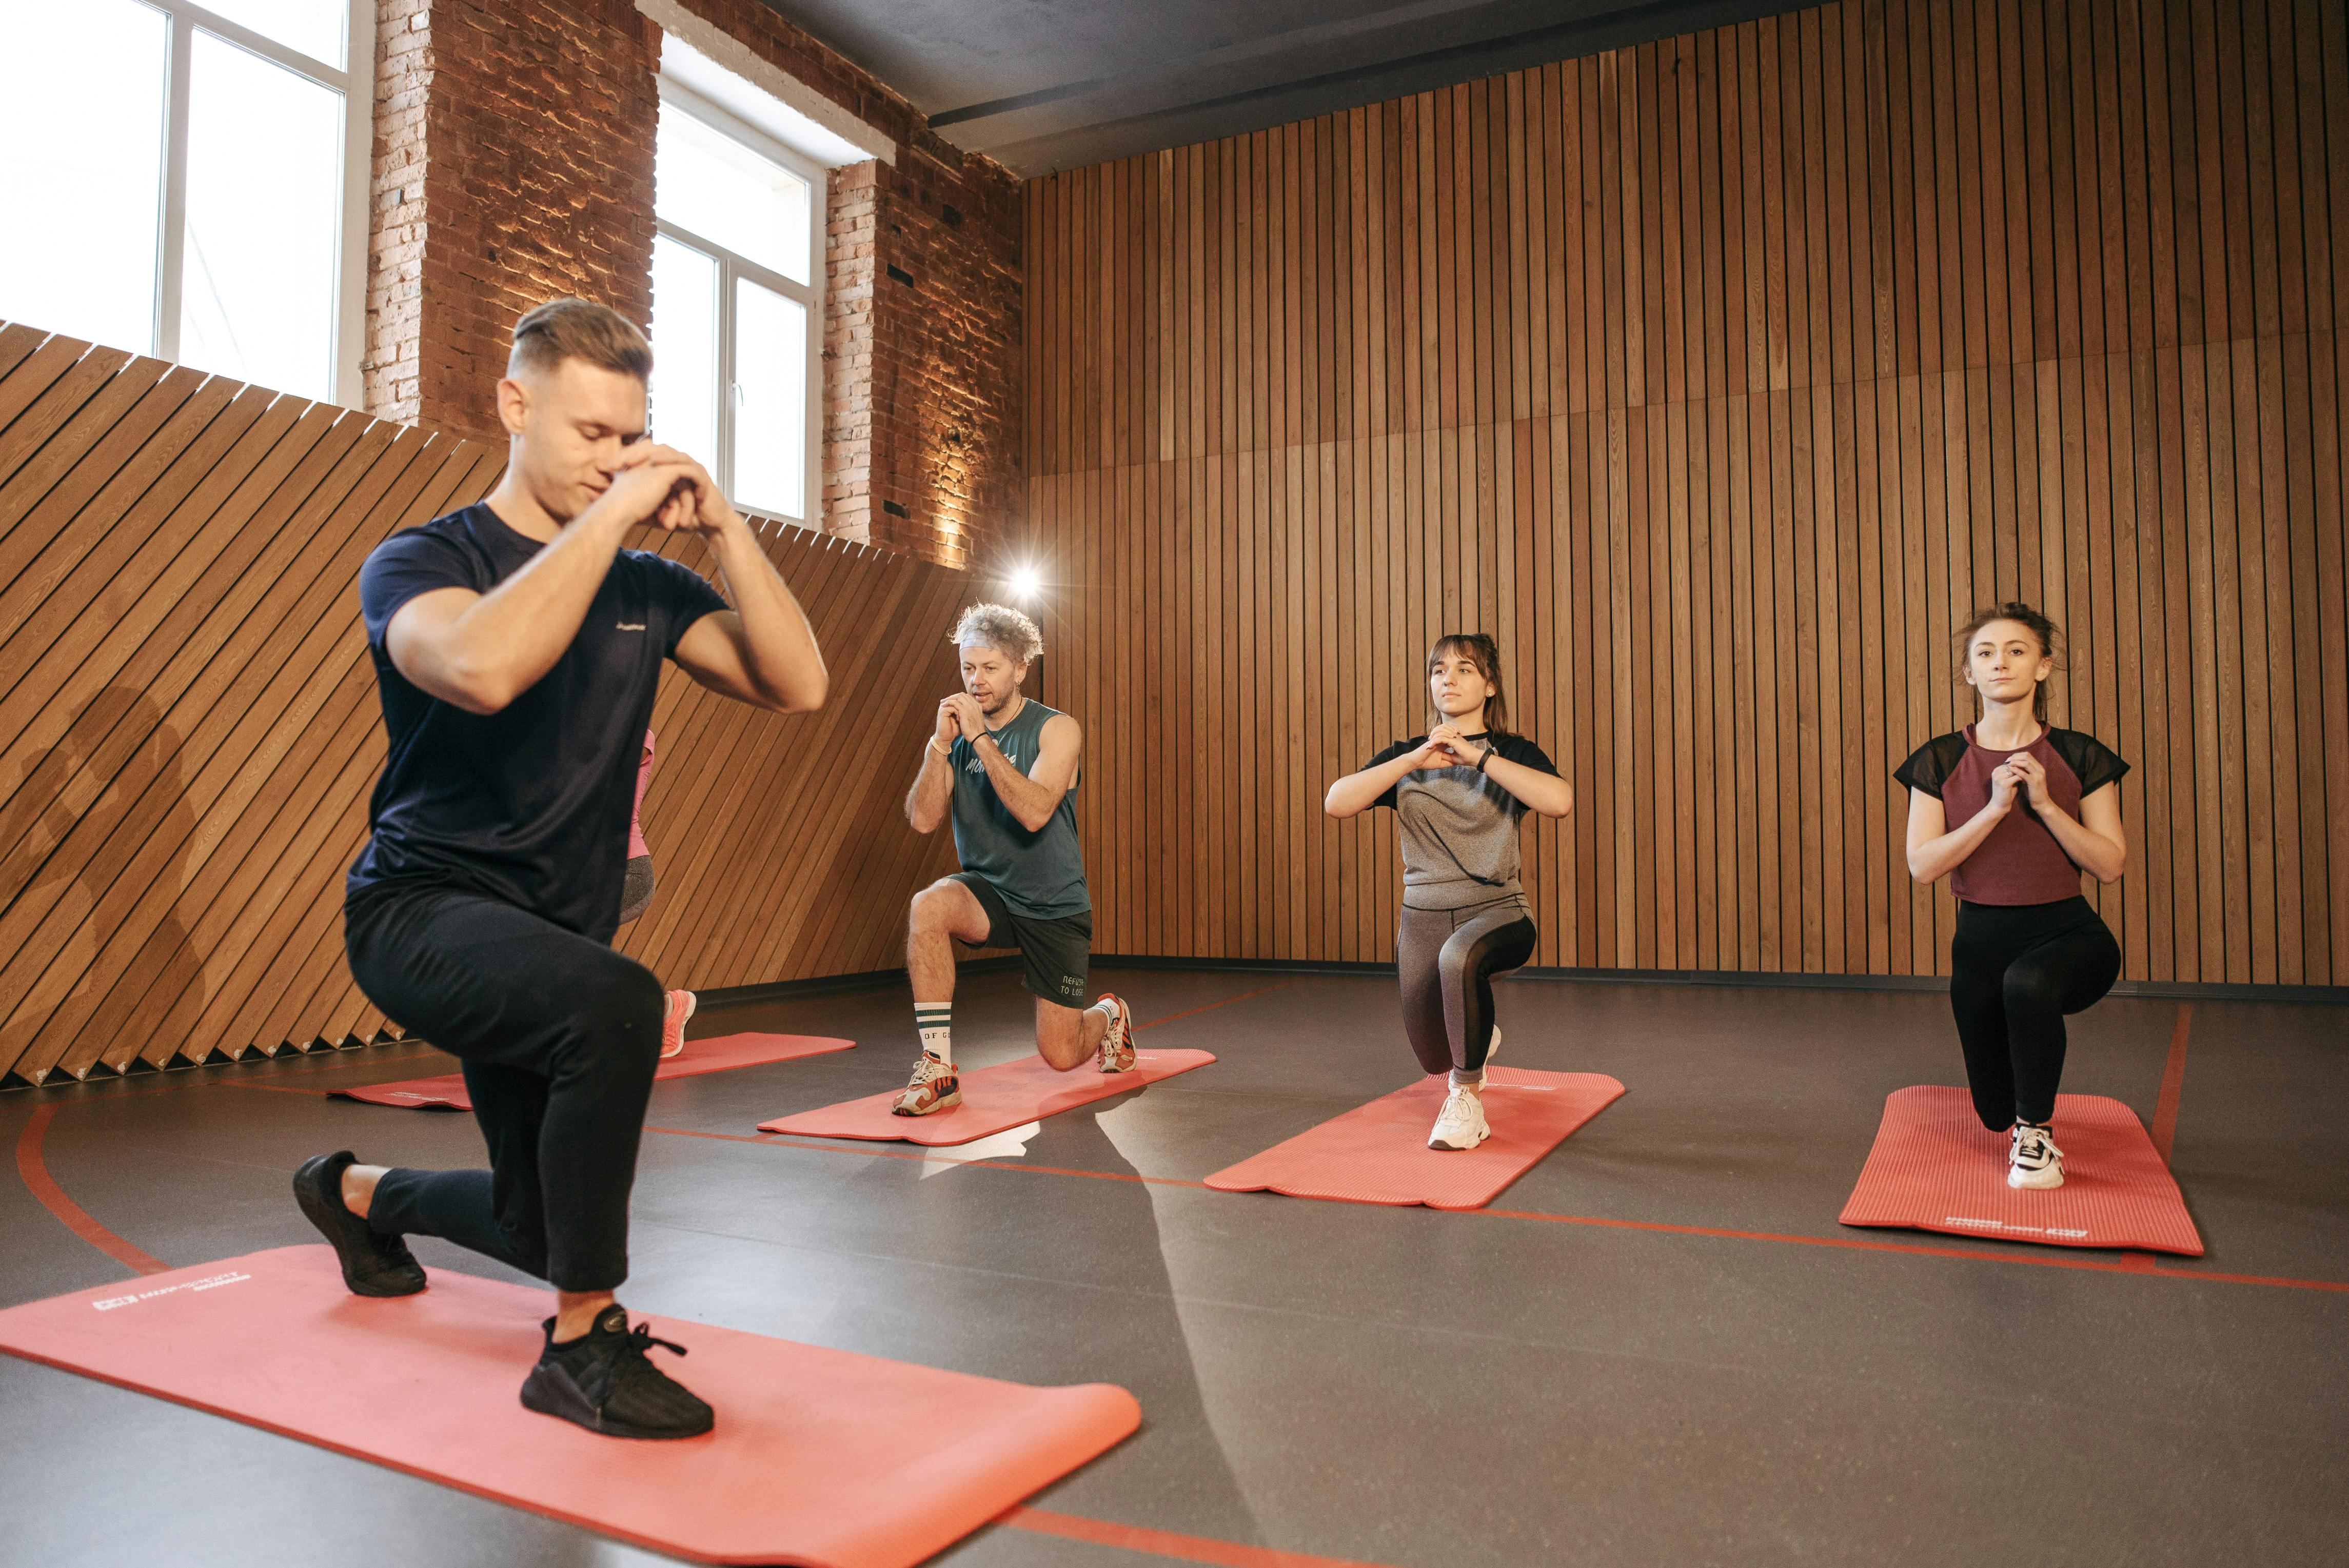
Many organizations run into difficulties when trying to maintain enthusiasm for wellness programs, especially as initial excitement fades over time. Leaders can make a...
Apr 03, 2026

Music, vibrant colors, and timeless stories fill the air at festivals, creating an atmosphere where people come together and celebrate their roots. Local heritage...
Mar 13, 2026

Building a community music and theater group brings together people who share a passion for the performing arts, creating a lively space for creativity and teamwork....
Feb 06, 2026
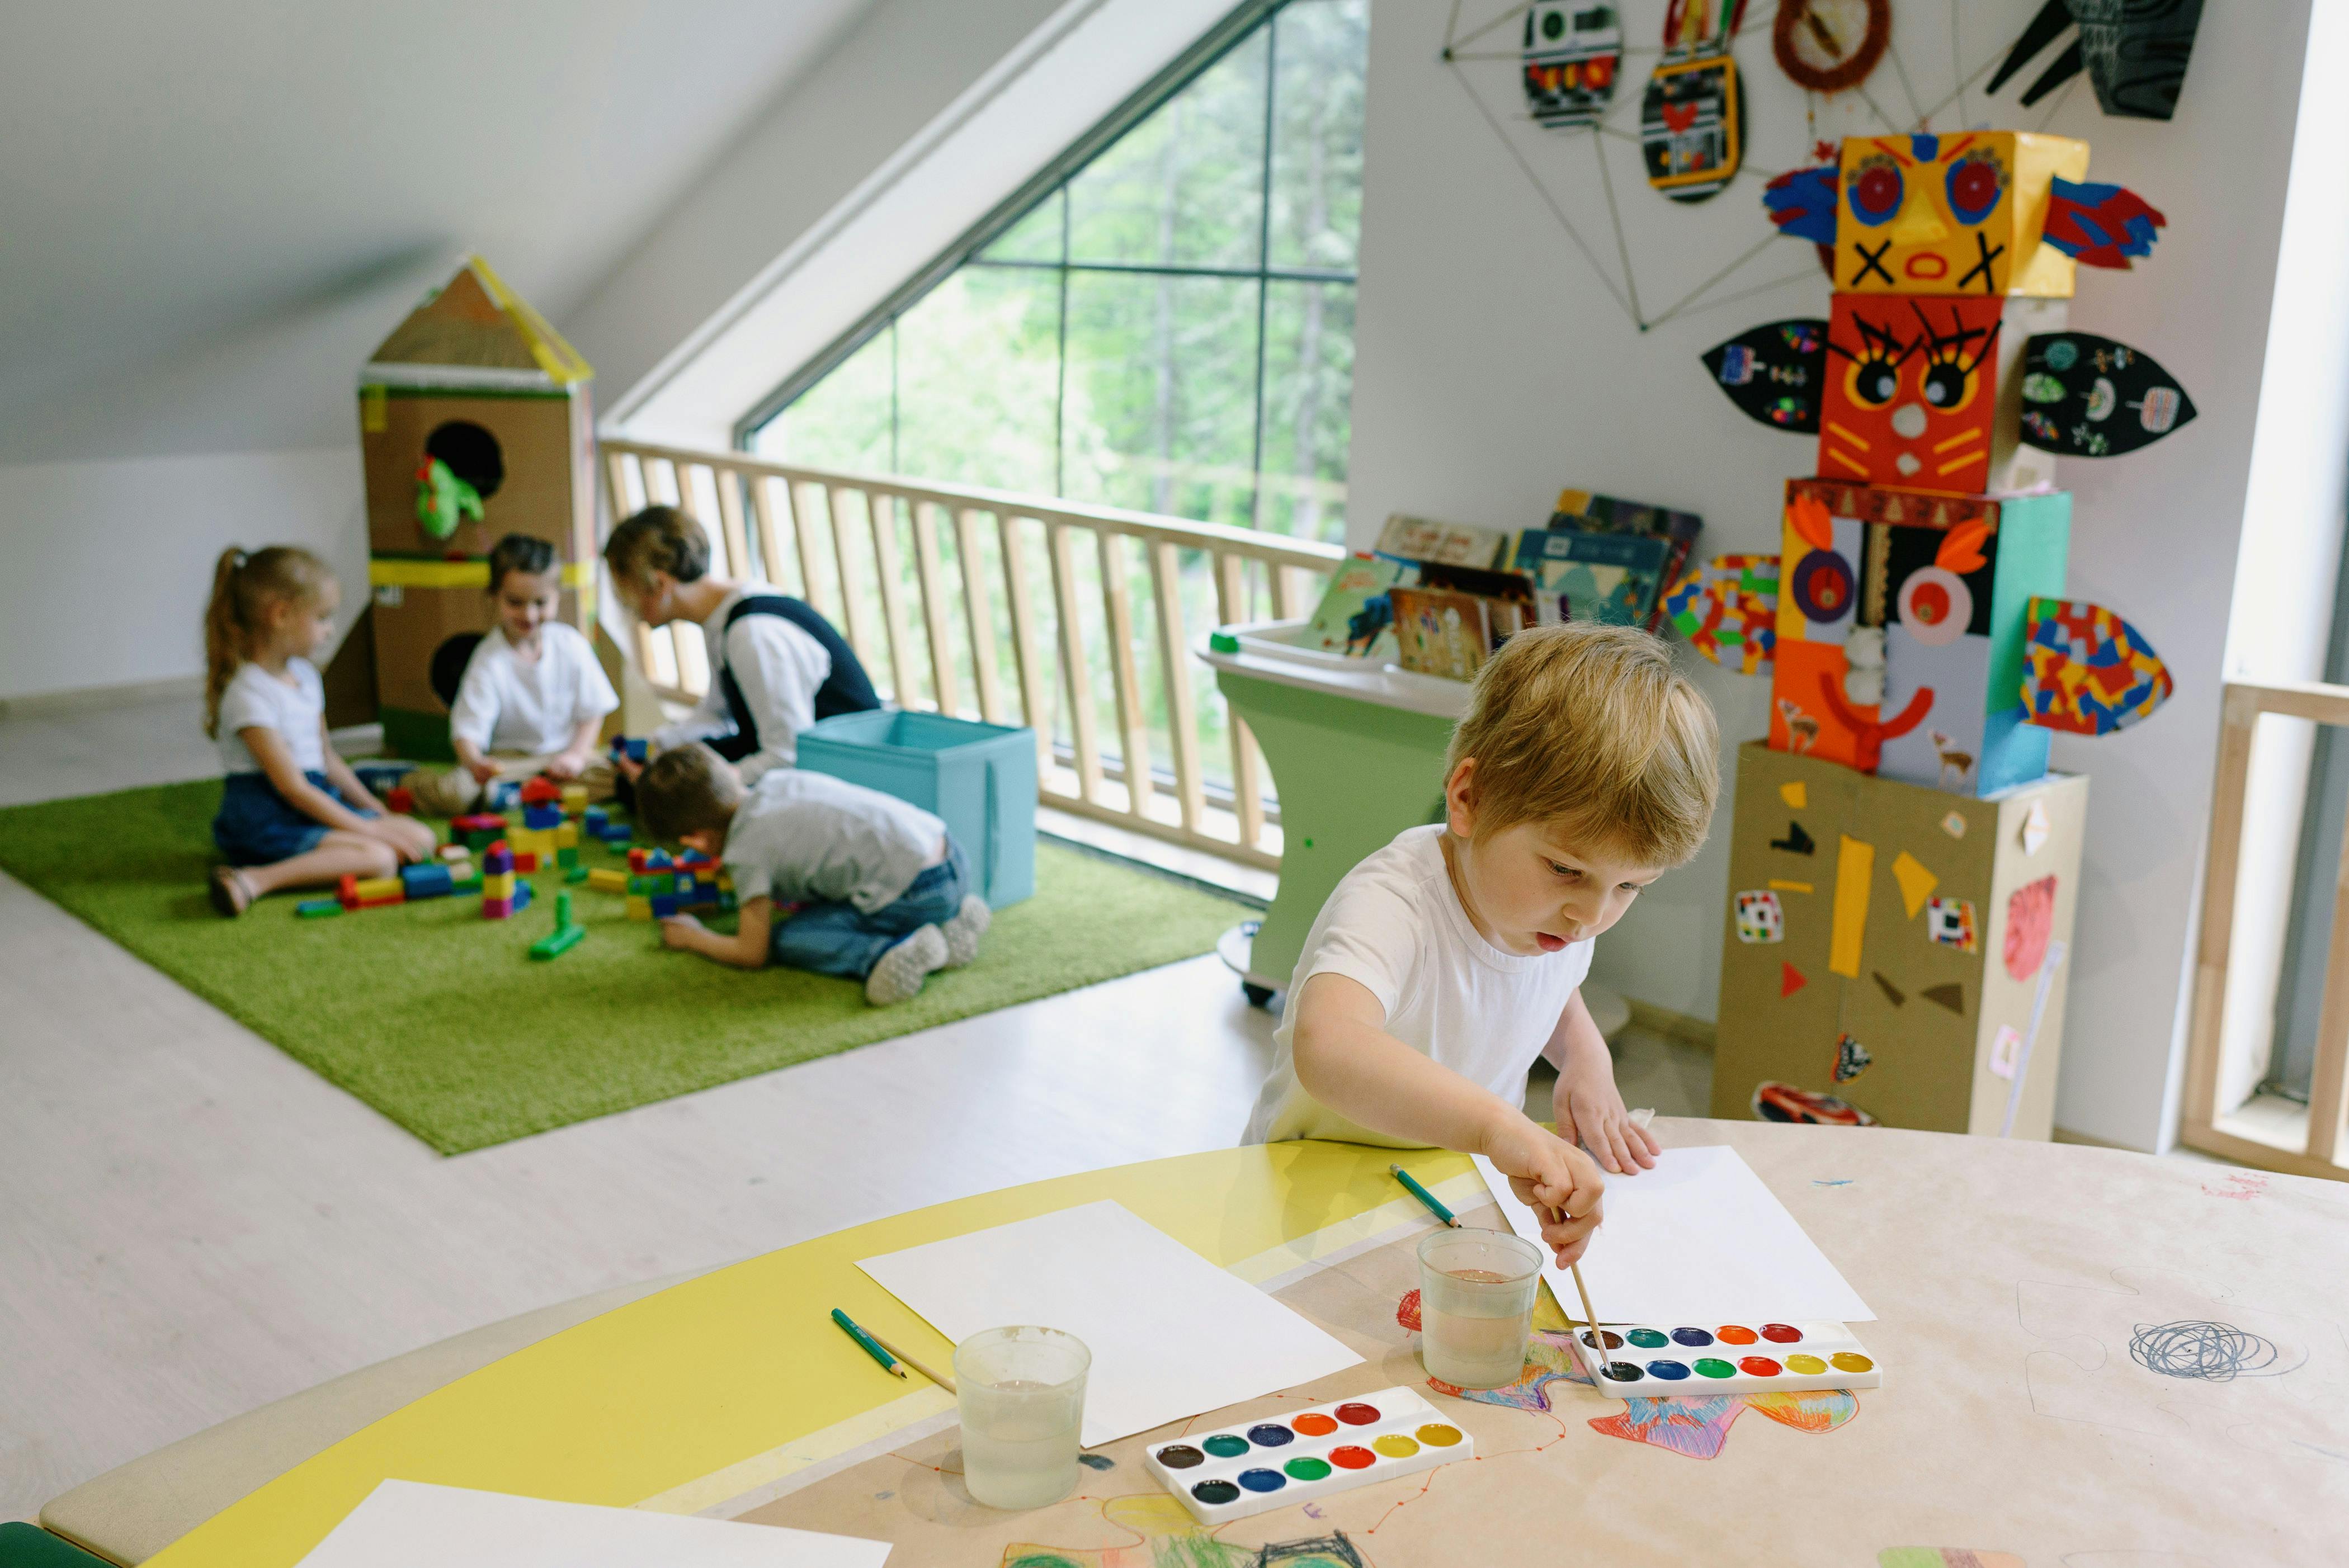
Balancing work responsibilities with family life often presents daily challenges, especially when it comes to securing trustworthy childcare. Locating dependable care...
Apr 11, 2026
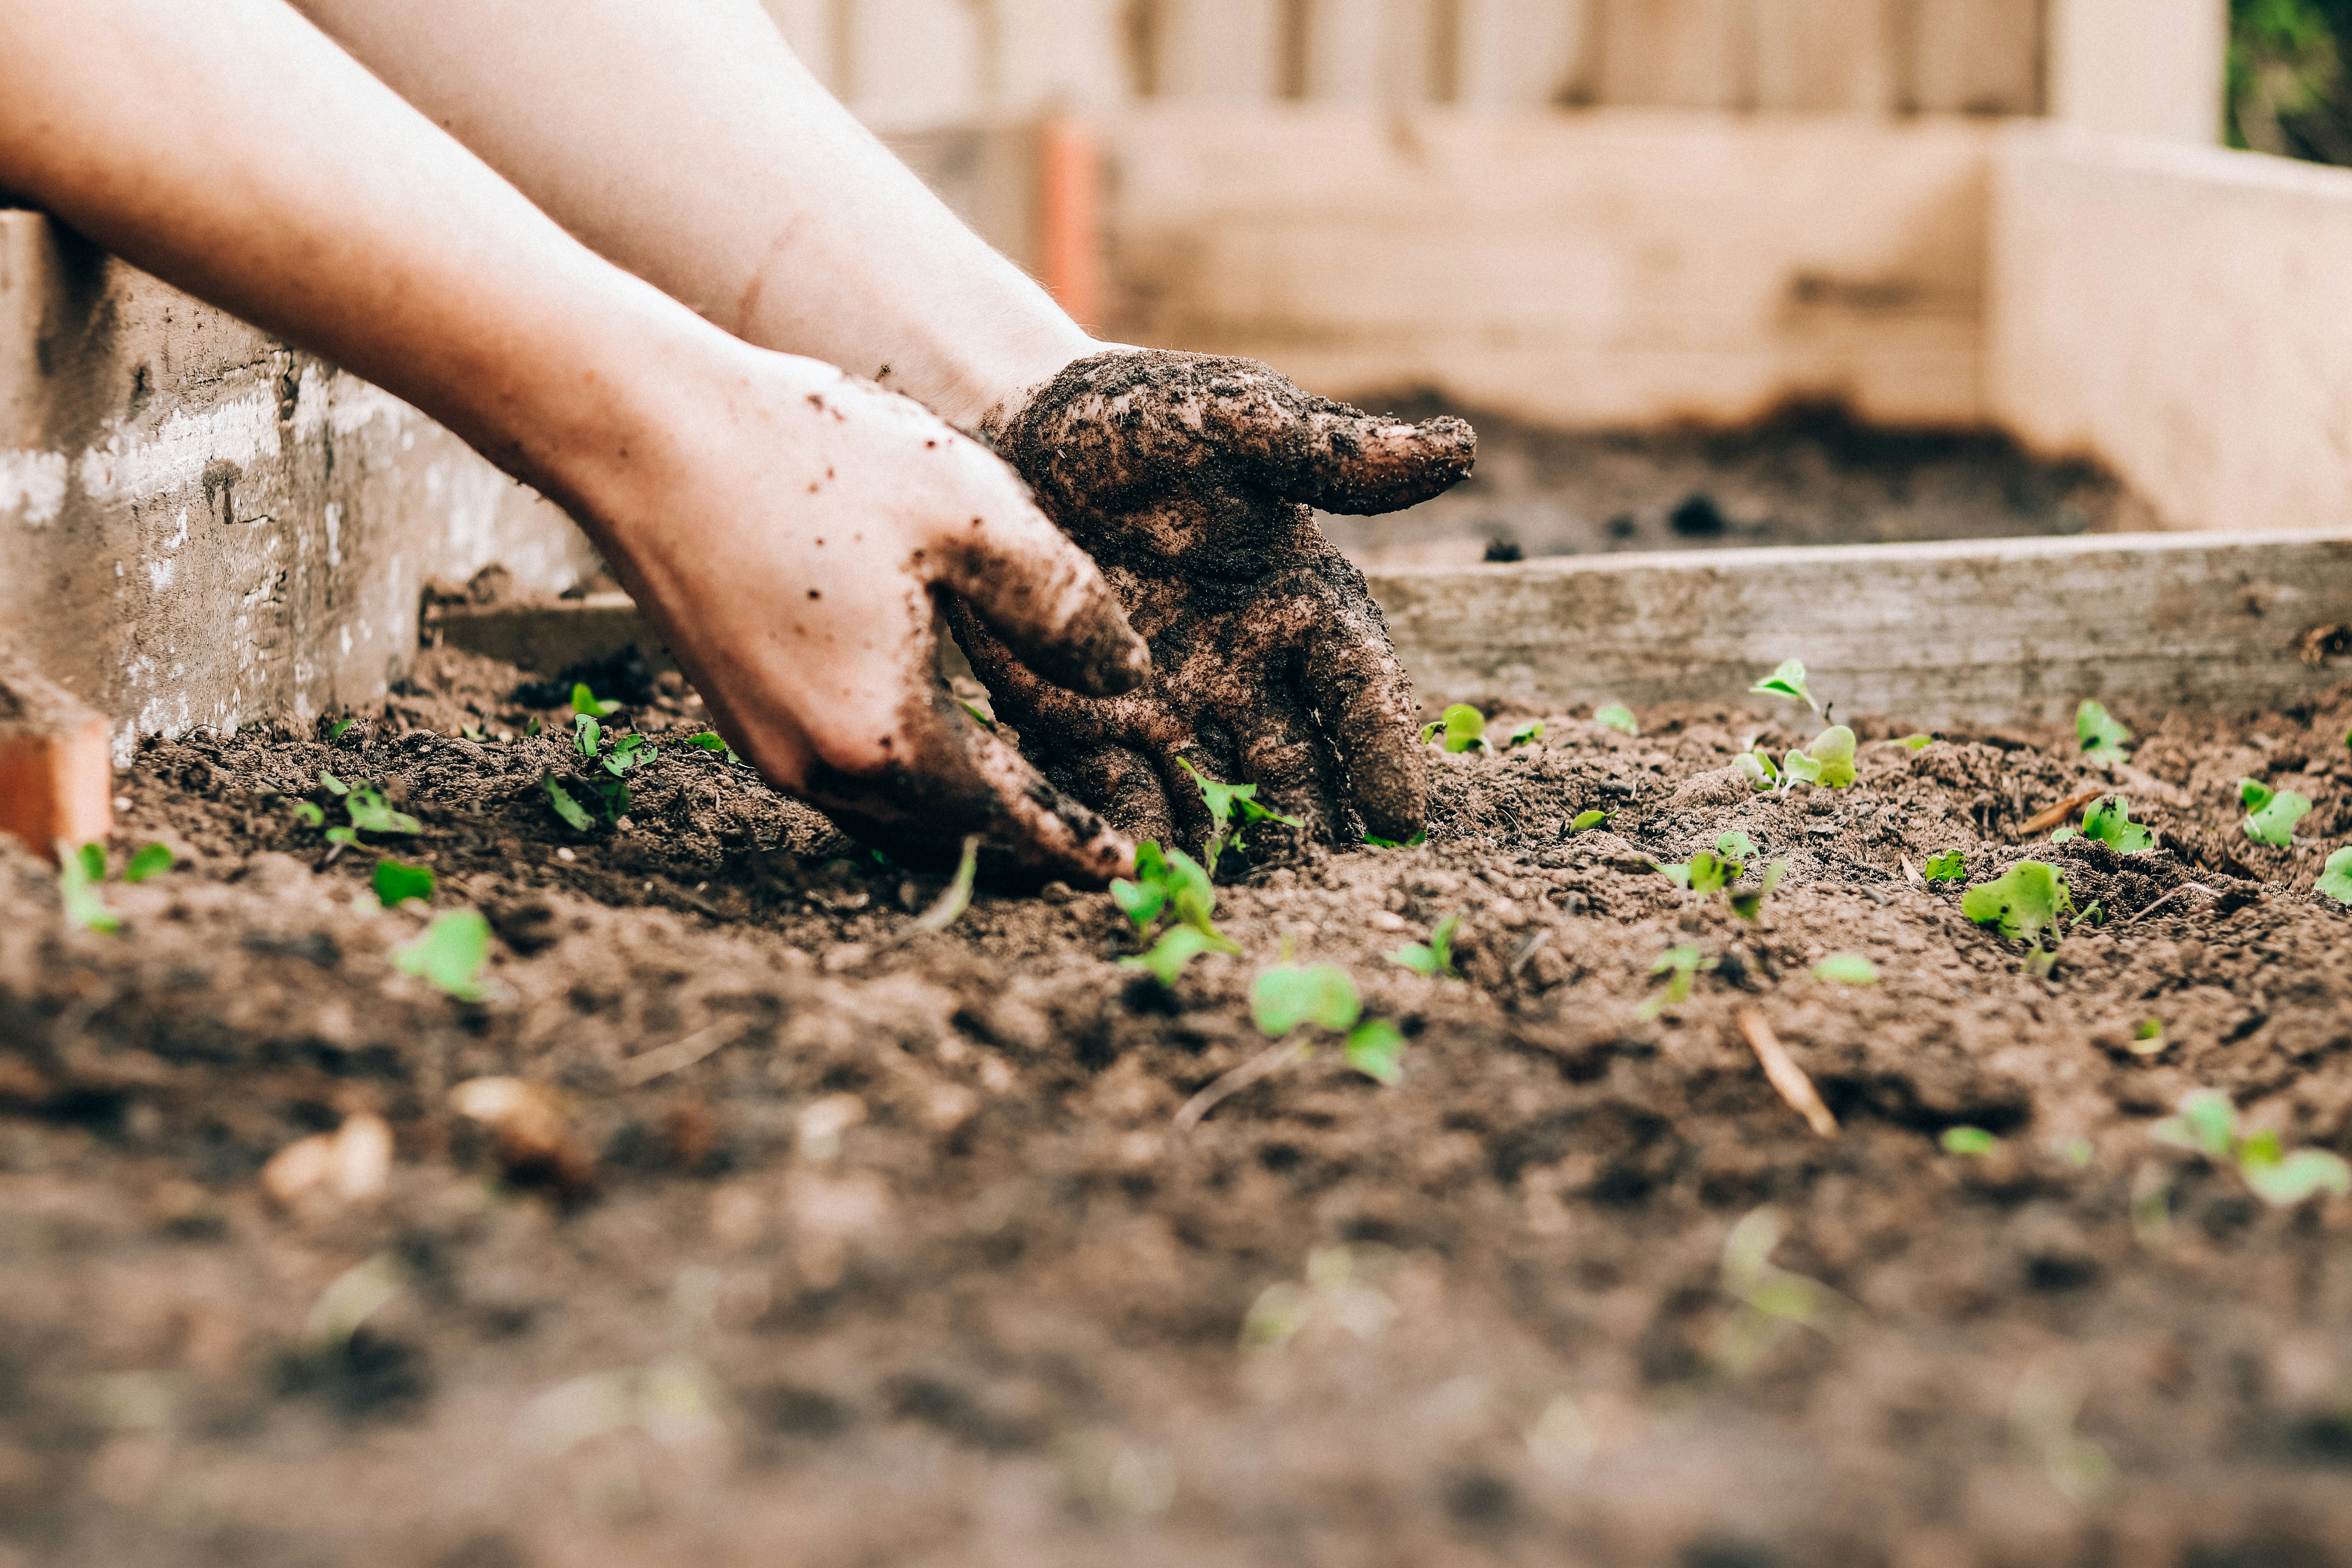
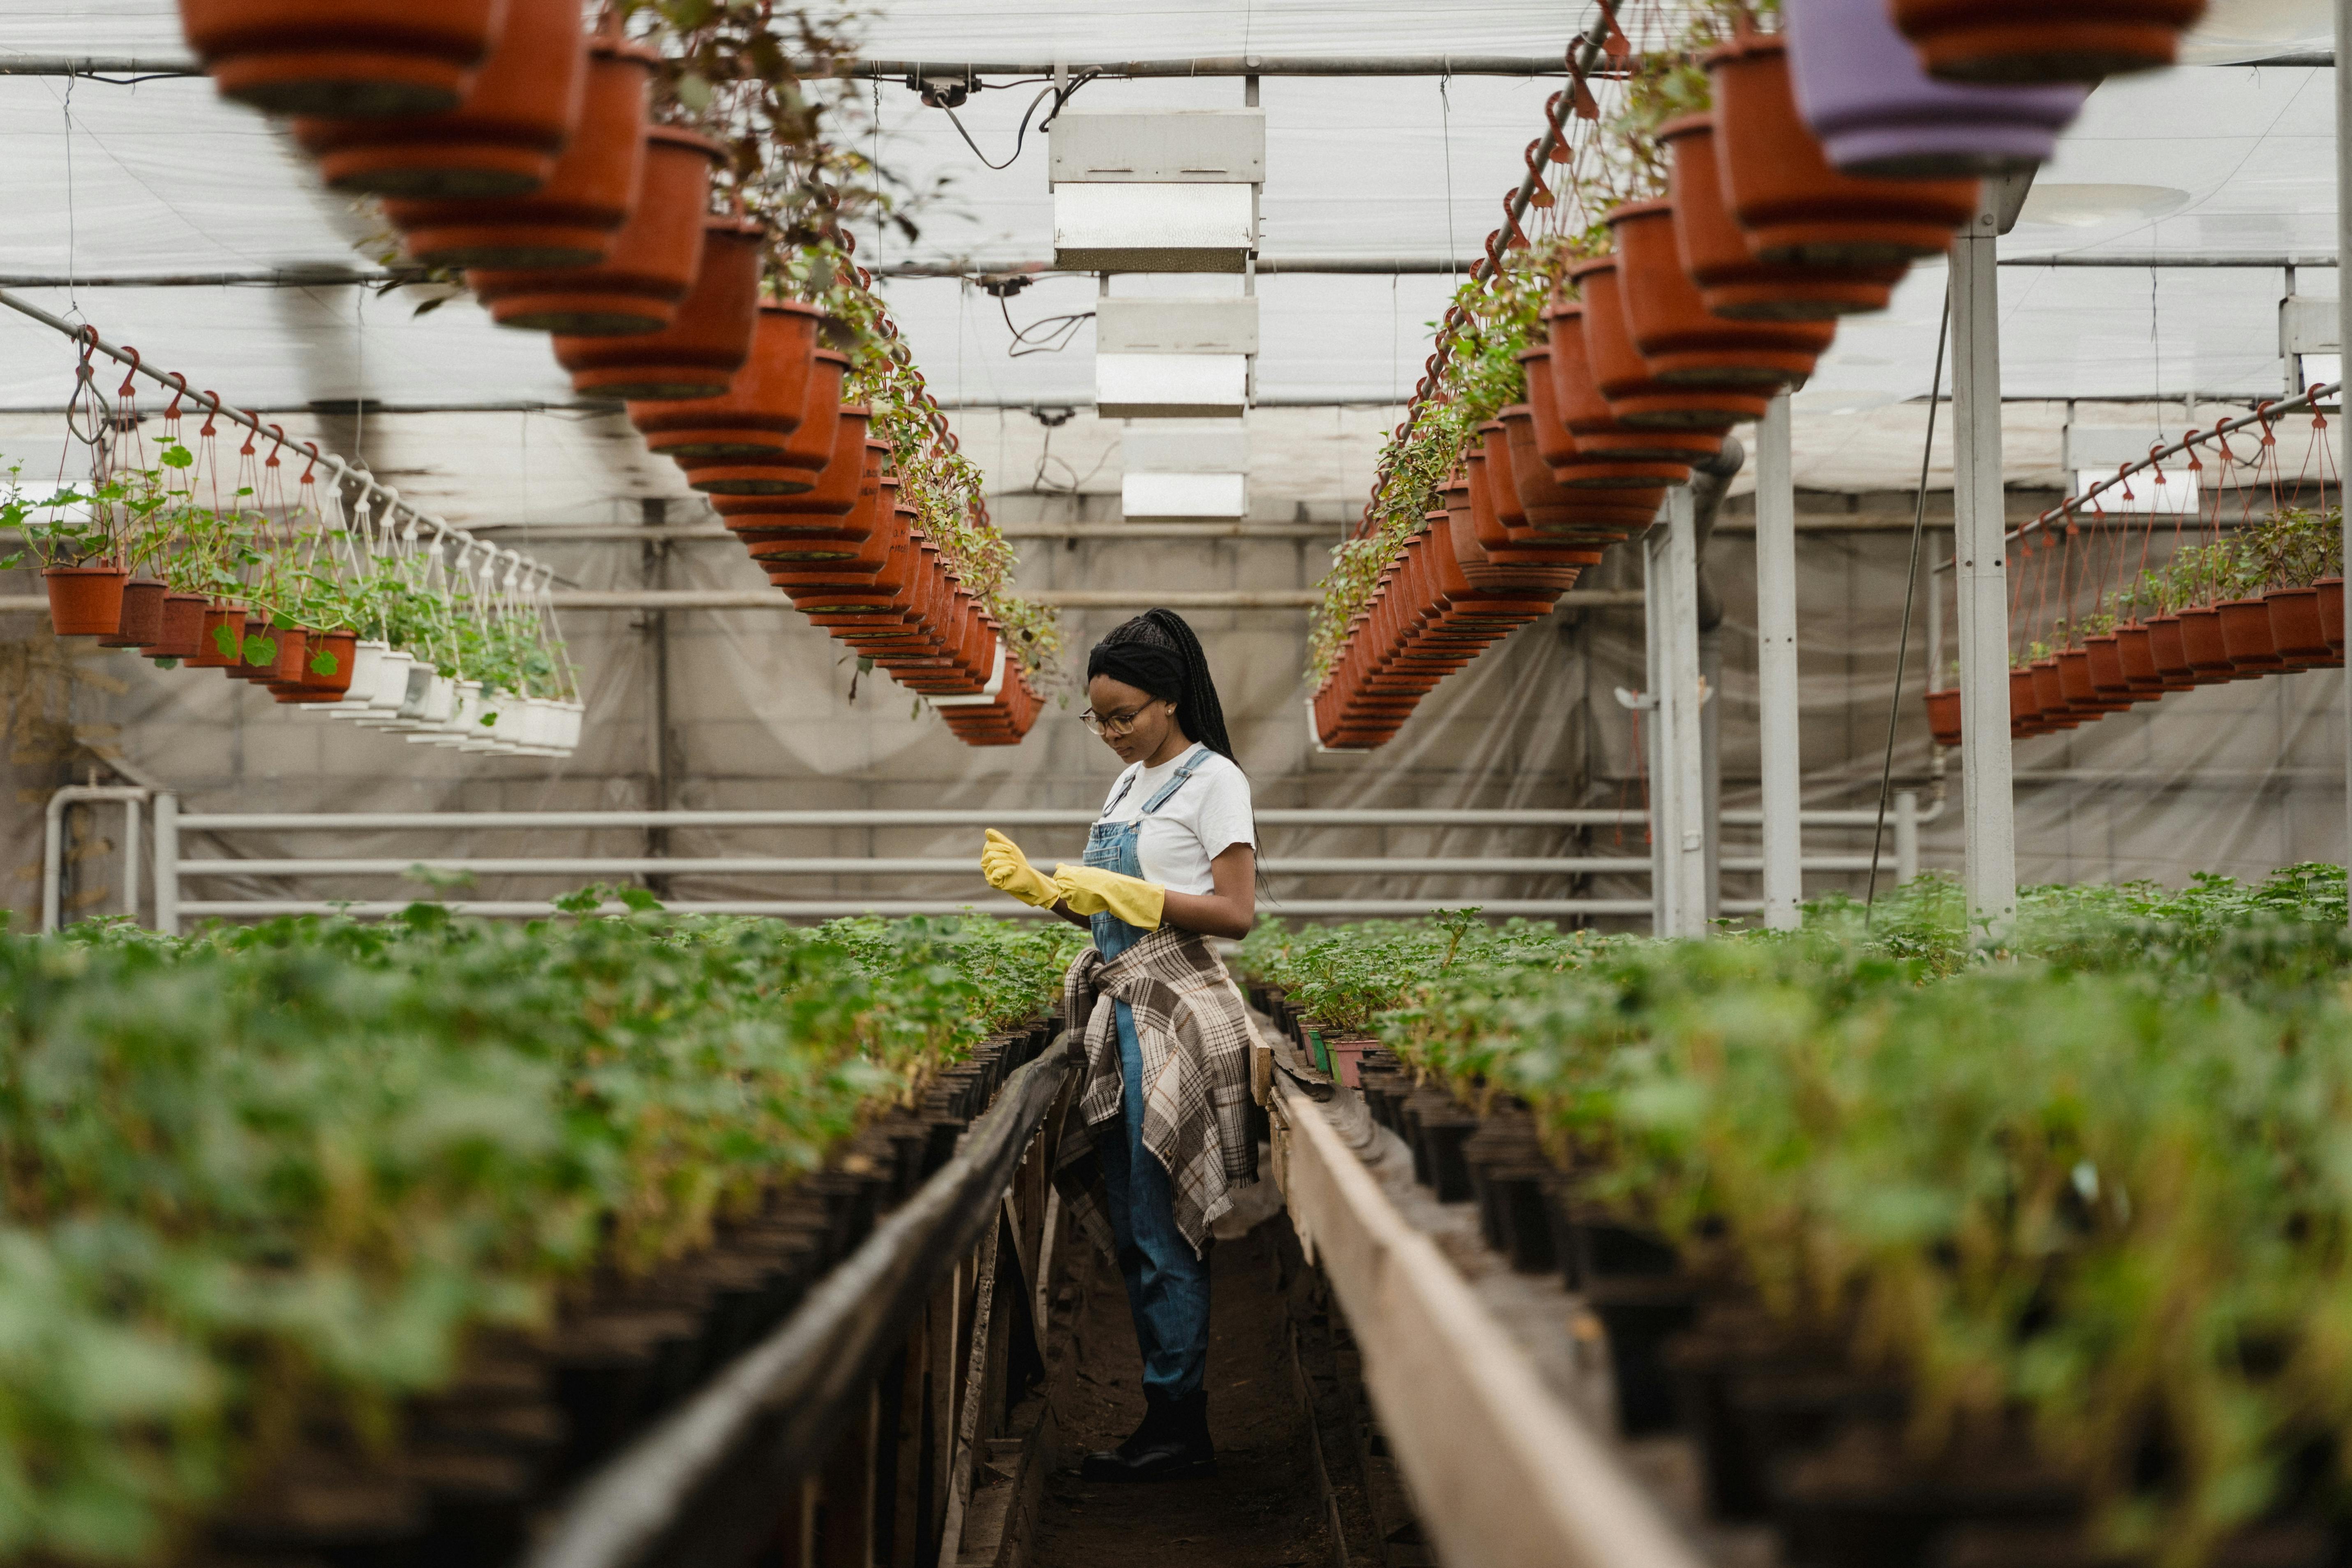
Neighbors gather in community gardens to create lively outdoor spaces filled with fresh air, growing plants, and a sense of togetherness. Working side by side, people...
May 19, 2026
Exploring a new hobby adds excitement and variety to everyday routines, often revealing hidden talents and interests. Taking up activities like painting landscapes or...
Mar 24, 2026

Collaboration across different time zones brings unique rewards and challenges, much like assembling a worldwide network of talented individuals. Reliable routines,...
Feb 28, 2026

Neighbors who join watch groups build stronger connections with those living nearby and create a community built on trust and awareness. By participating, you notice...
May 09, 2026

Families who run businesses navigate a mix of traditions and new ideas, balancing the wisdom of founders with the energy and creativity of younger generations. Building...
Apr 29, 2026

Planning a solo adventure stirs up feelings of excitement mixed with a bit of uncertainty. Exploring vibrant markets or wandering along secluded paths can seem both...
Apr 22, 2026

Building strong financial habits starts with paying close attention to your everyday choices. Take a moment to review how you spend each dollar, and you will soon notice...
Mar 20, 2026